Saturday 16 January 2021

Here's one I made earlier...one chest back, one side axe, one stile...oh hang on that's more than one...

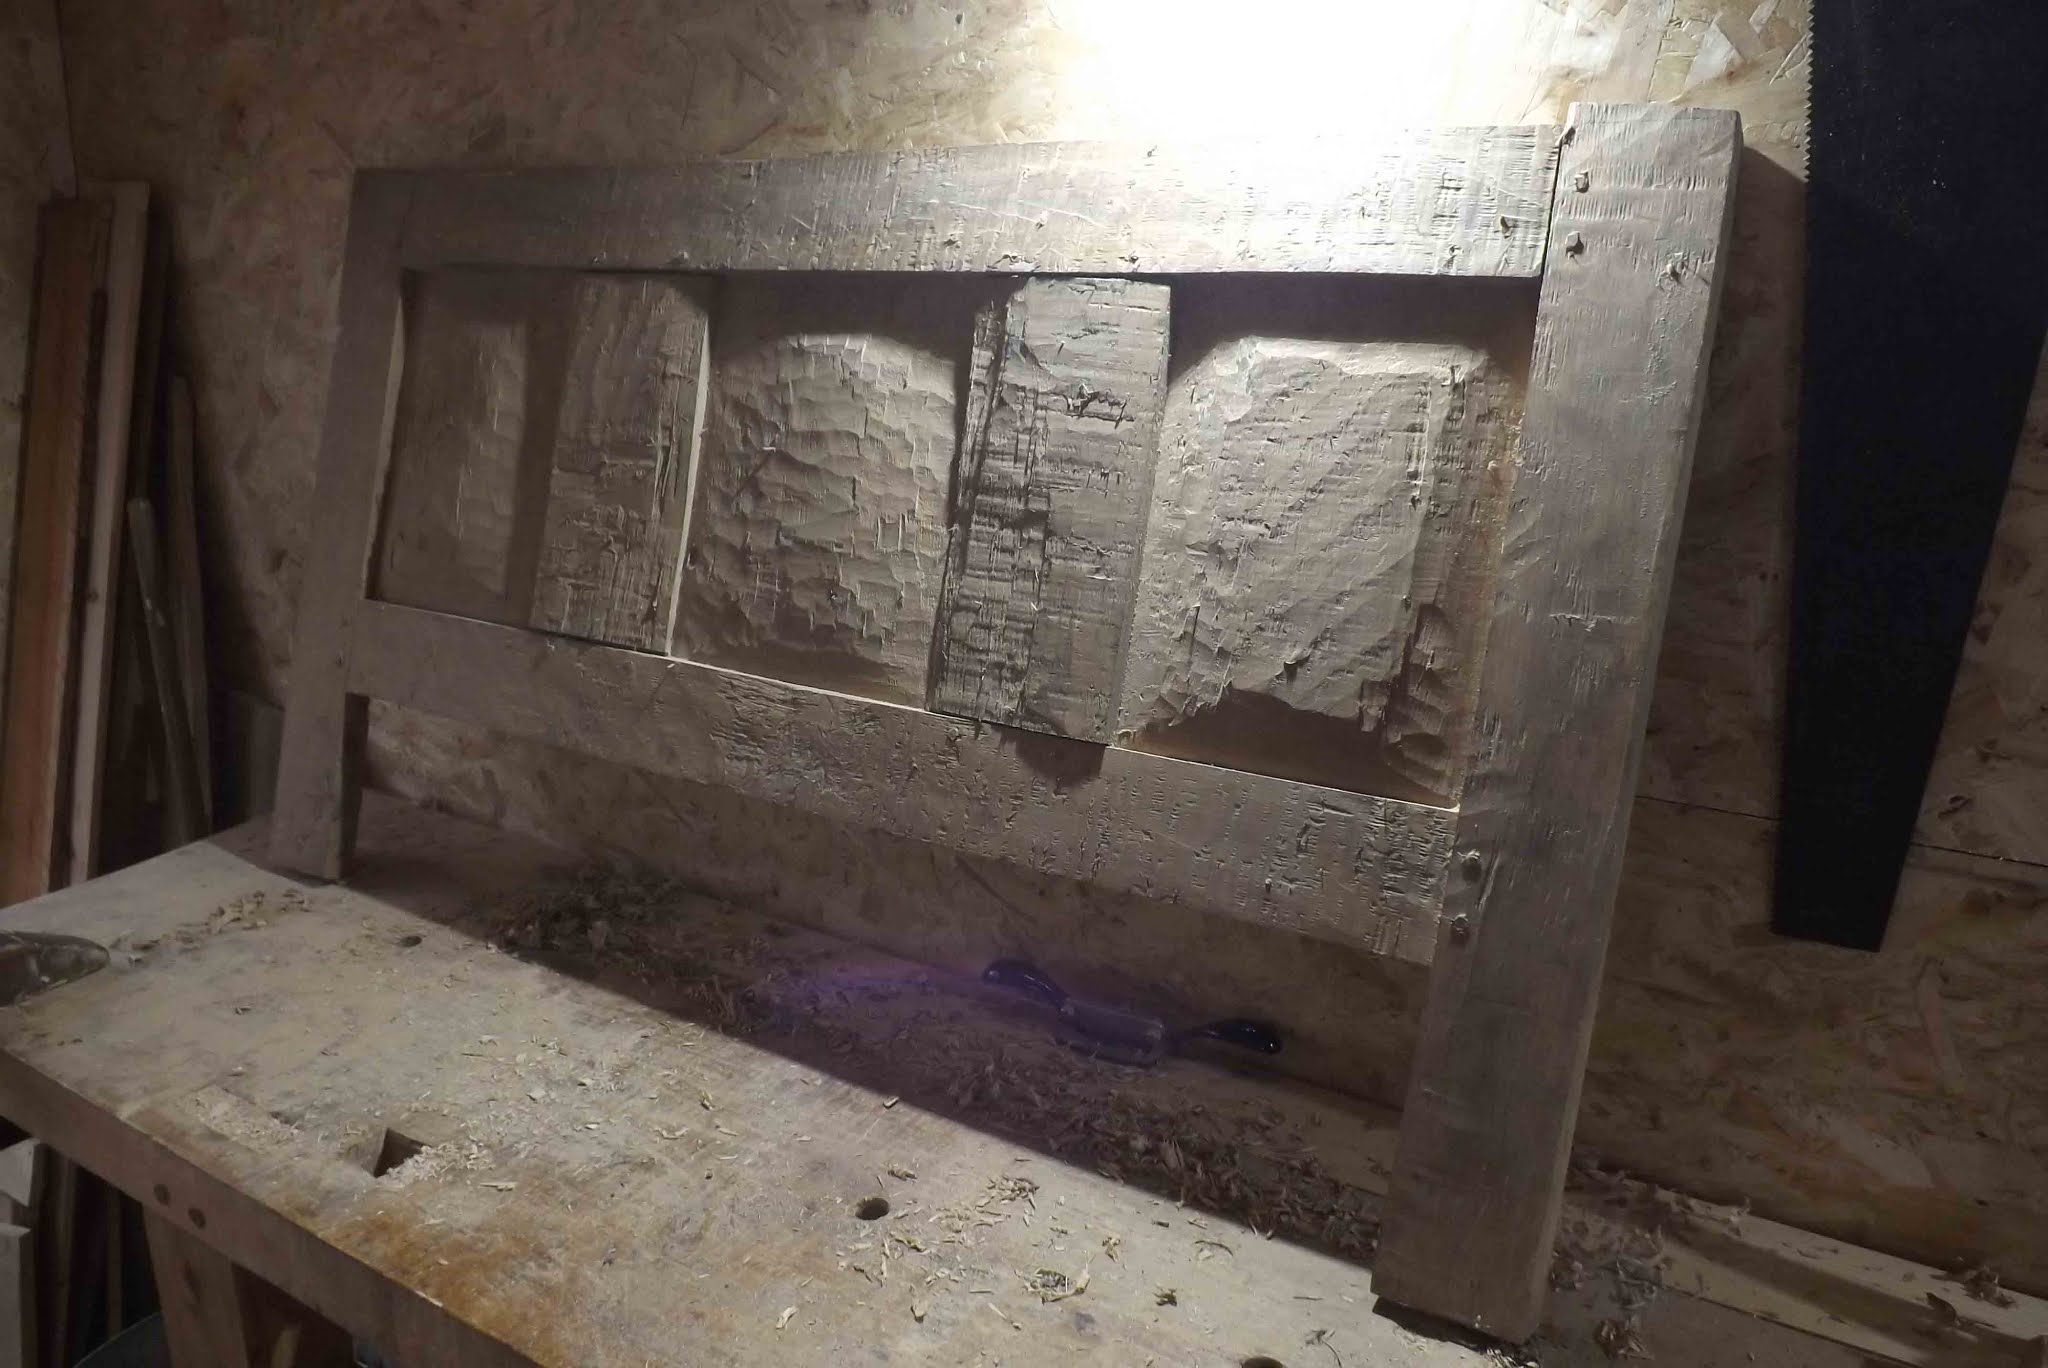
 I was sorting stuff out down at the main workshop, and came upon this chest back I made earlier.


That smoothing plane has been hanging around a while in a drawer,since I bought it at a boot sale, waiting to be re-conned. The seen side of the chest back is a bit rough, but half an hour with the new smoother and scraper plane has it looking more cheerful.

The back of the back is as rough as a badger's breakfast, but that's ok.

I bought this side axe a few years ago now. The handle was straight, not off-set (which is best for a side-axe) and there was no room for fingers in between the handle and beard. I made a new handle from ash, but never got round to fitting it. Today was the day for things I had made (or bought) earlier, so on with the new handle.


That inch and a half chisel was another boot sale acquisition; 50p. I assumed it must have belonged to a plumber; in place of a ferrule was a length of copper pipe, and it was badly beaten up. I had to grind it back flat 1/2", before I could grind a new bevel. Inside that ugly appearance was a lovely old Sorby chisel. I'll keep the copper handle until it gives up the ghost and then replace it.


I can fit my fingers in between the beard and handle now, for finer control and the offset will stop me rapping my knuckles against the timber being hewn.


Just a point. I will smooth the handle more, once I have used it a few times. It's not good to leave handles rough like this, unless you want blisters.

It will be good to have the option of a different side axe for hewing. The Stubai is good for stiles and rails, but a longer blade is better for panels.

This blog is given in the spirit of sharing. Please feel free to comment. I would rather it was a two way thing. Happy hewing!


Sunday 10 January 2021

Lid, drawer and pulls

This furniture is normally started with green oak. That means fresh, unseasoned timber. It seasons and dries as the furniture is made; this works because of the way that the joints are cut; tenon backside shoulders are not tight to allow movement. Panels can move within the frame. The rails, stiles and tenons for this chest lid were roughed out some time ago; so the joints are somewhat tighter than with greener oak. More care needs to be taken with the drawboring, as the dry oak can break out more easily.

I made these snipe-bill or 'gimmal' hinges for this chest.

I am using some sawn oak for the floorboards, three boards fitted side-to-side. It's the only sawn stock in the chest.

I have ordered some brass repro drop pulls for the drawer, but I am not convinced they are right for this chest. They are more late 17th century. Whichever, they have not arrived, so I have hand-carved some black walnut pulls; a hole drilled, reamed and wedged from the back. I have left it long; that way if it loosens in time, the wedge can be knocked further in and then trimmed.

Some wax on the drawer-hangers and the chest is all but finished.


Next!


Monday 4 January 2021

Drawboring

So, on with the chest. Pegs made.

 Pegholes drilled through mortices.

And tenons.

This is the backside of the back of the chest. It looks rough, but this is how they were made; only surfaces on show were finished; non-visible surfaces left scrub-planed or even sideaxed; most of these chests werde made to back against a wall. 

Back assembled and drawbored.


 Inside.


 Now the main carcass of the chest is joined, time to fit the floorboards.

 Nailed up to the back centre rail.

Boards trimmed. Back board fitted and nailed to bottom rail. Turned right way up.

Fitting the floorboards gives extra strength and rigidity to the chest. Boards from inside.

The stiles were left long during the making; it prevents breaking out when chopping the mortices at the top of the stiles. So now it's time to trim those of, in preparation for making and fitting the chest lid.

I was re-visiting the photos I took of this beauty the other day.


The framing members can't be much more then 3/4" thick. My version of this iconic chest has a frame  1 1/2" thick.

This new chest has a frame not much thinner than that, but the lid is going to be 13/16".